Frogging Knitting: How to Undo a Knit Stitch
Beginning a knitting project is a wonderful experience, but dealing with a mistake in your stitches can be scary when you start knitting. Understanding the frogging knitting process can be a lifesaver. Also, you can learn how to undo a knit stitch, a skill that every knitter, from beginner to expert, can benefit from mastering. This guide will show the techniques of taking stitches back correctly, ensuring your projects remain flawless, and keeping your knitting experience fun. So cast on, and let’s go!
Mistakes happen – It’s ok!
Anyone who has picked up a pair of knitting needles will tell you – mistakes happen. It is part of the learning process. However, there is a process you need to follow when you do make a mistake with your knitting needle.
If you have gone along for a few stitches and realize you have made a mistake, like dropped stitches, you can do what is called “frogging” to undo stitches back to where your mistake happened or even a previous row. It may feel terrifying. However, it is normal and part of the process.
Some choose to rip out a project that isn’t going well, or they may not be making progress, and they use this frogged yarn for another project.
Frogging Knitting procedure: When to Unravel Multiple Rows
Sometimes, a mistake is noticed several rows after it has been made, and simply undoing one stitch or two will not correct it. In these instances, frogging or unraveling rows of knitting back to the mistake, may be your best option.
This technique involves carefully removing the needles from your stitches and pulling the working yarn to undo long rows of knitting until you reach the incorrect stitch or row where the mistake was made. The frog makes it where you can go back to before where the mistake happened and correct the stitches.
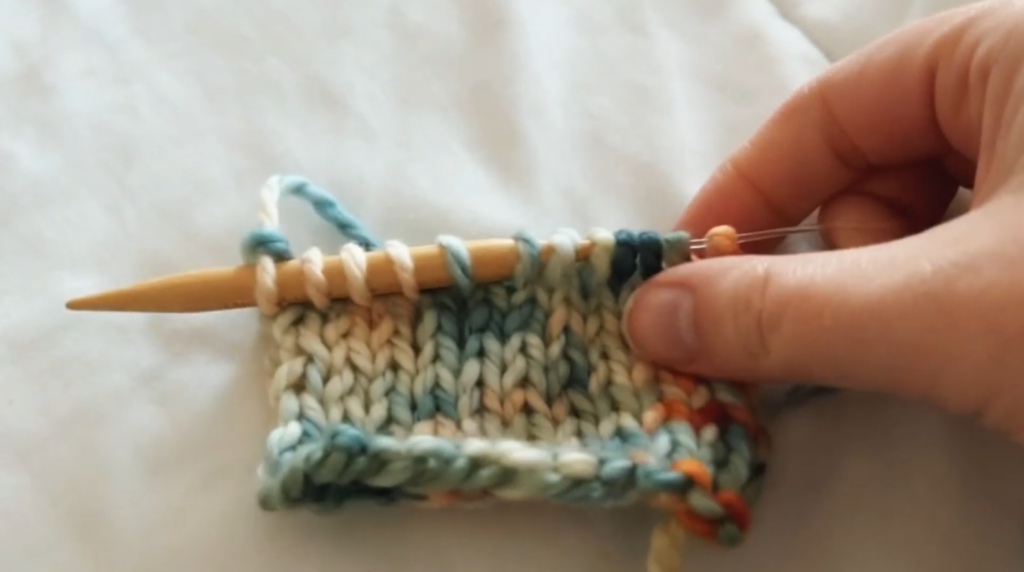
Before removing the needle and undoing several rows, you can secure your work. Simply go to the row just below the mistake and collect the right leg of each stitch along that row. Then, you can safely unravel your work up to the row where you’ve secured the stitches.
Types of Stitches: A Brief Overview
Knitting, a craft cherished by many, is characterized by various stitch types, each contributing uniquely to the fabric’s texture, appearance, and drape. Let’s delve into a succinct exploration of some fundamental stitches that knitters frequently employ in their projects.
The Classic: Knit Stitch
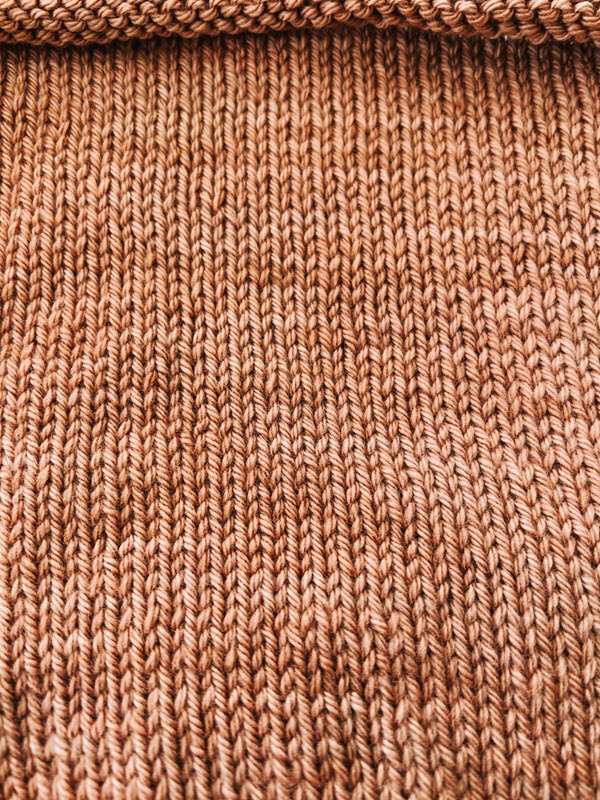
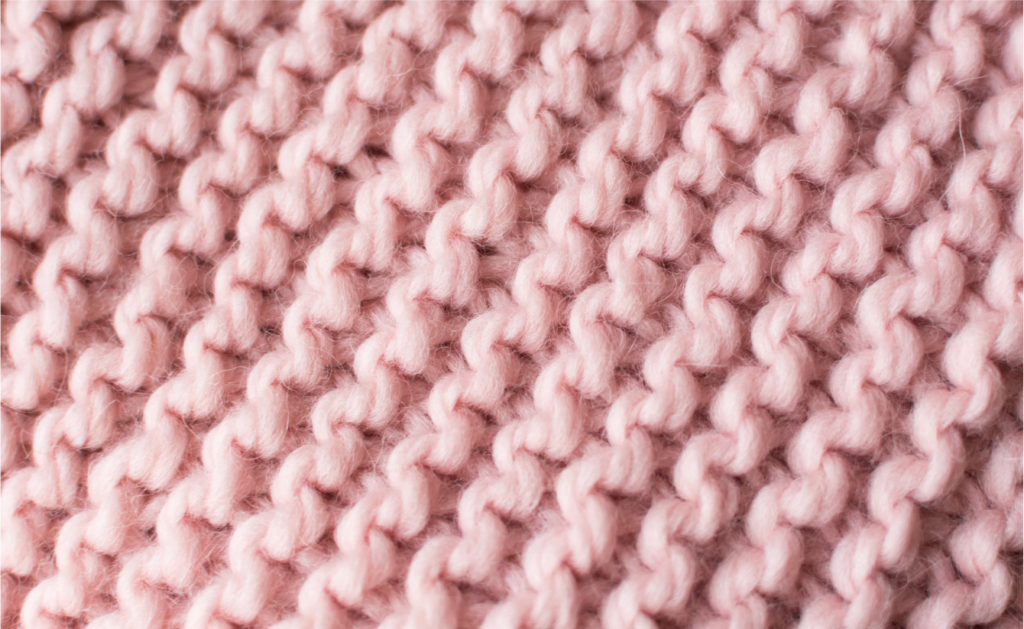
The knit stitch is the basic knitting stitch, creating a fabric known as “garter stitch” when worked in every row. Its flat and stretchy nature recognizes it, with visible little v’s forming the stitch pattern.
Purl Stitch
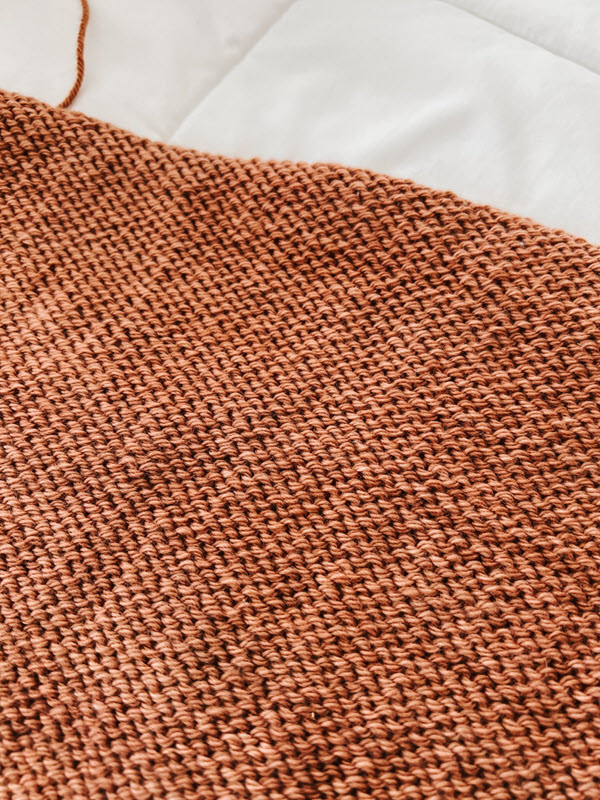
The purl stitch, essentially the reverse of the knit stitch, forms a fabric known as “reverse stockinette” when worked on its own. When knit and purl stitches are alternated within a row or between rows, they create the well-known “stockinette stitch,” characterized by a smooth “right” side and a bumpy “wrong” side.
Twisted Stitch
Twisted stitches are created by knitting through the back loop of the stitch rather than the front, causing the stitch to sit twisted on the needle. This stitch is often used intentionally in various patterns to create a decorative effect or to add texture to the fabric.
The Yarn Over: Creating Holes and Extra Stitches
Yarn overs introduce intentional holes into the fabric, often used in lace knitting or to create decorative eyelets. This technique also adds an extra stitch to your work and is frequently paired with a decrease to maintain the stitch count.
The Combination: Ribbing
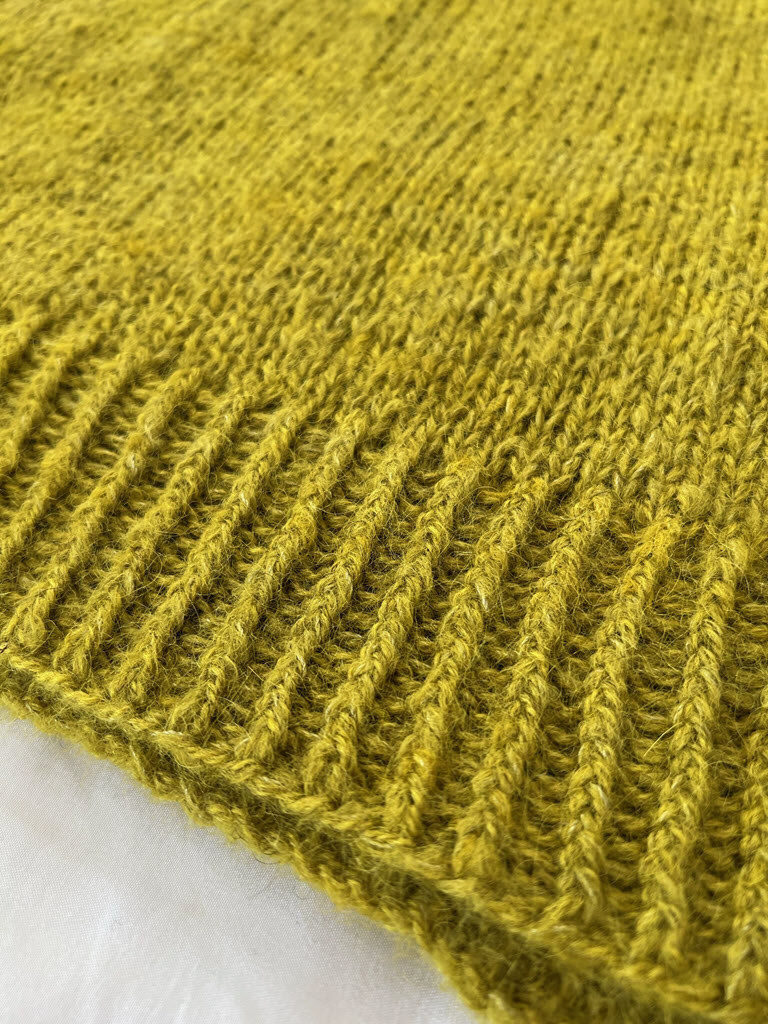
Ribbing is formed by alternating knit and purl stitches within a row, creating a fabric that is stretchy and often used for cuffs and edges of garments due to its elastic nature.
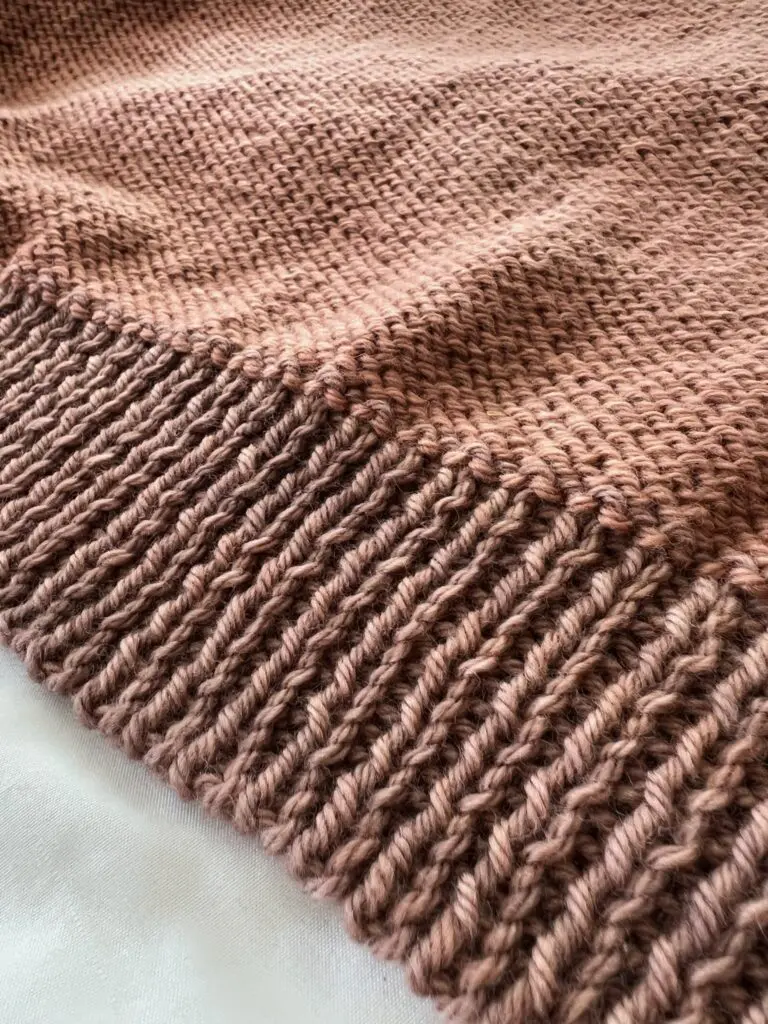
The Texture: Seed and Moss Stitch
Seed stitch and moss stitch are formed by alternating knit and purl stitches both within a row and between rows, creating a textured, bumpy fabric that lies flat and is the same on both sides.
The Decorative: Cable Stitches
Cable stitches involve rearranging the order of stitches to create a twisted or cabled effect. This is typically done using a cable needle to hold stitches while others are worked, and then working the held stitches, creating a twist in the fabric.
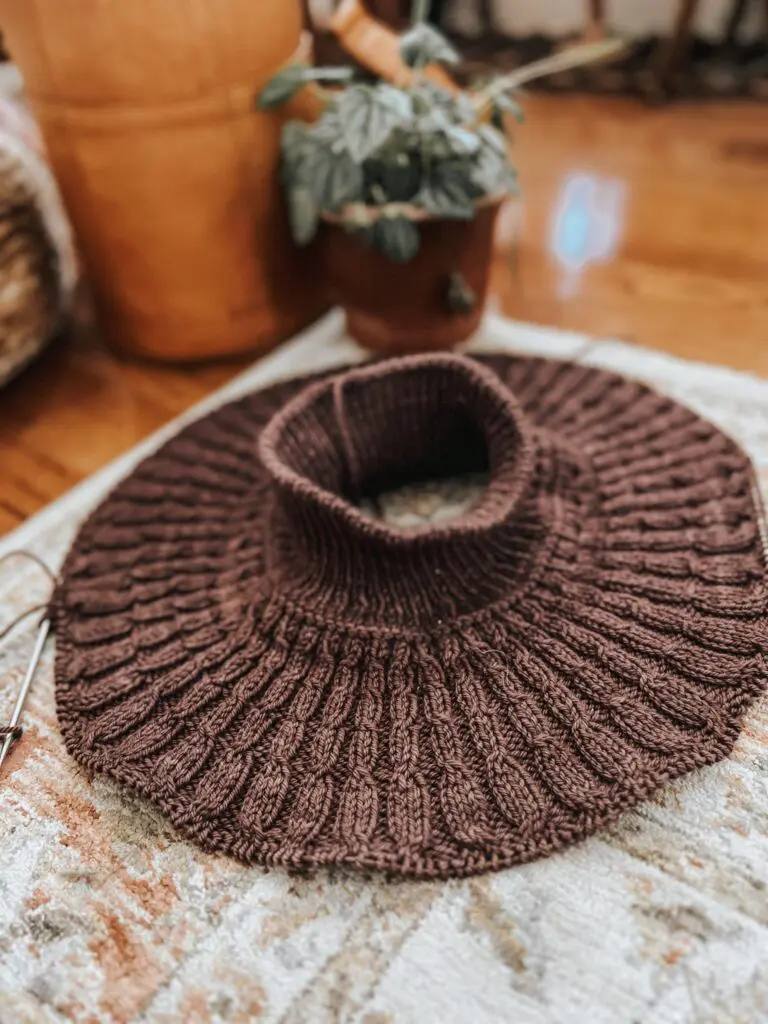
In knitting, each stitch type brings its unique aesthetic and structural qualities to the table, enabling knitters to explore, create, and innovate a myriad of beautiful projects. From the simplicity of garter stitch to the intricate designs possible with cables and lace, the world of knitting stitches is vast and wonderfully diverse.
Below is the garter stitch.
Unraveling the Basics: Understanding the Knit Stitch
Knitting combines creating loops, known as knit stitches, through one another. The knit stitch, one of the fundamental stitches, forms the basis of many stitch patterns and is often the first stitch learned by new knitters.
To undo a knit stitch or to “tink” (knit spelled backwards), one must make sure and go through the loops and legs of the stitches with precision, maintaining the structure of the surrounding stitches.
Identifying the Anatomy of a Stitch
Every stitch has a right and left leg, which are seated around the working yarn. Understanding the orientation and pathway of these legs is paramount to successfully undo a knit stitch without causing further knitting mistakes. The left needle plays a crucial role in this process, providing stability and direction as you carefully undo stitches.
The Delicate Dance: Techniques to Undo a Knit Stitch
Undoing a knit stitch involves a meticulous dance between the left needle and the right needle, ensuring that the working yarn is not compromised and that stitches are not dropped in the process. The left needle will be inserted into the stitch below the one you need to undo, providing a safety net for the stitch as it is gently removed from the right needle.
Twisting and Turning: Navigating Twisted Stitches
Twisted stitches can be a bit more complex to undo due to their rotated leg orientation. The left needle will need to be inserted into the back leg of the stitch below the twisted stitch, ensuring that the stitch is not further twisted as it is undone. Twisted stitches can often occur in patterns such as ribbing, where the knitter alternates between knit and purl stitch. It is important to undo the stitch correctly to maintain the pattern integrity.
The Safety Net: Utilizing Locking Stitch Markers
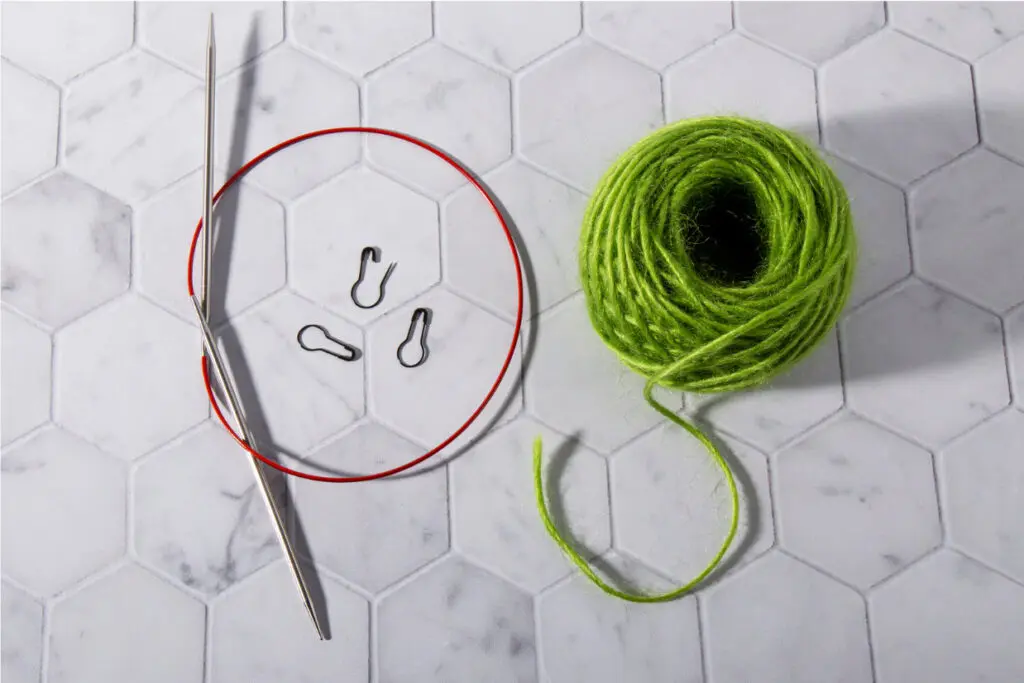
Locking stitch markers can be a knitter’s best bet for undoing multiple stitches or unraveling several rows of knitting. By securing the live stitches with a safety pin or locking stitch marker, you ensure that the stitches do not drop down into the rows below, maintaining the structure of your knitting and making it easier to pick up stitches and continue knitting after the mistake has been corrected.
Wrapping up
Learning frogging knitting techniques and understanding the different stitches used in the knitting process will allow you to correct your knitting mistakes and continue to create beautiful garments you can be proud of. Mistakes will happen, but it doesn’t have to stifle your creativity. Happy Knitting!

