How to Knit a Sweater for Beginners
There is nothing more cozy and comforting than a sweater knitted by hand. It’s a project that many beginner knitters feel drawn to, and with good reason. Understanding yarn, knitting needle types, patterns, and tools is the key to unlocking the joy of knitting sweaters. Let’s look at how to knit a sweater for beginners.
How to knit a sweater for beginners: Starting with the Essentials
Learning how to knit a sweater for beginners starts with choosing the right materials. The weight of the yarn you pick will shape the feel and look of your finished sweater. If you’re new to knitting sweaters, dk weight yarn is a flexible choice that fits many sweater patterns.
Understanding Yarn Weight
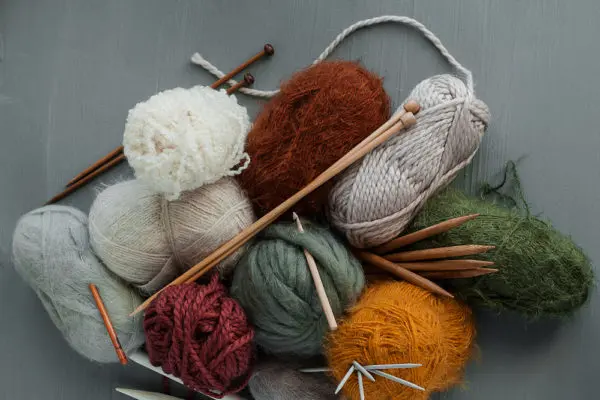
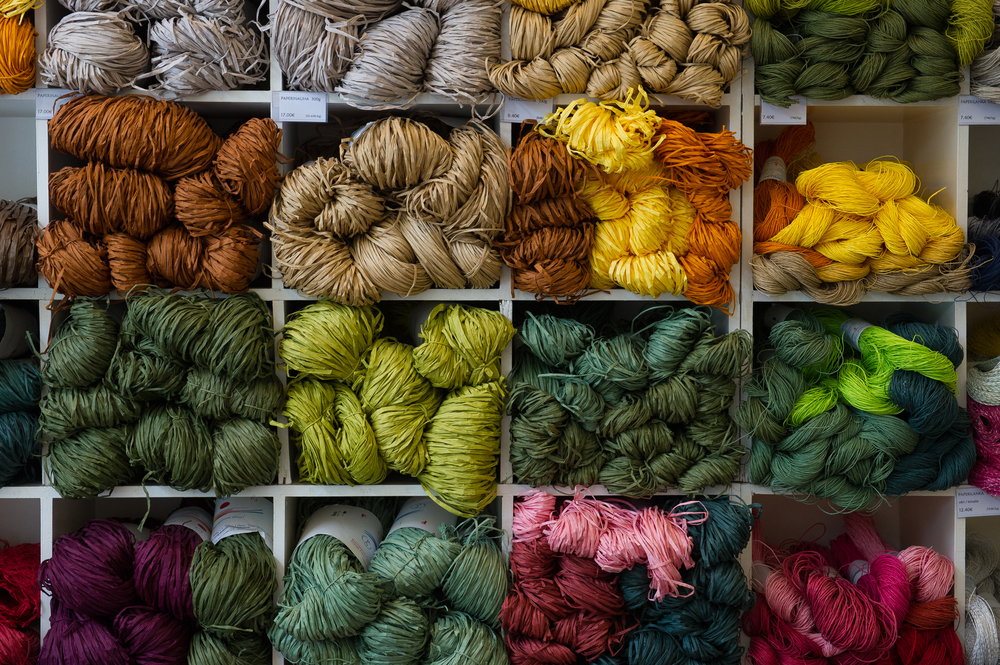
Knitting a sweater isn’t just about following a pattern but knowing your yarn. The term “yarn weight” isn’t about how heavy the yarn is but how thick the strand is. Here’s what you need to know:
DK Weight Yarn: This is a medium-thickness yarn that’s perfect for lots of different sweater patterns. It’s often the go-to choice for those knitting their first sweater because it’s not too thick or thin, just right for getting started.
- Bulky Weight Yarn: Bulky yarn is thicker and provides a warm texture. It’s perfect for a bulky sweater that you want to knit quickly.
- Chunky Yarn: Similar to bulky yarn, chunky yarn is great for creating textured and warm sweaters.
Tools of the Trade
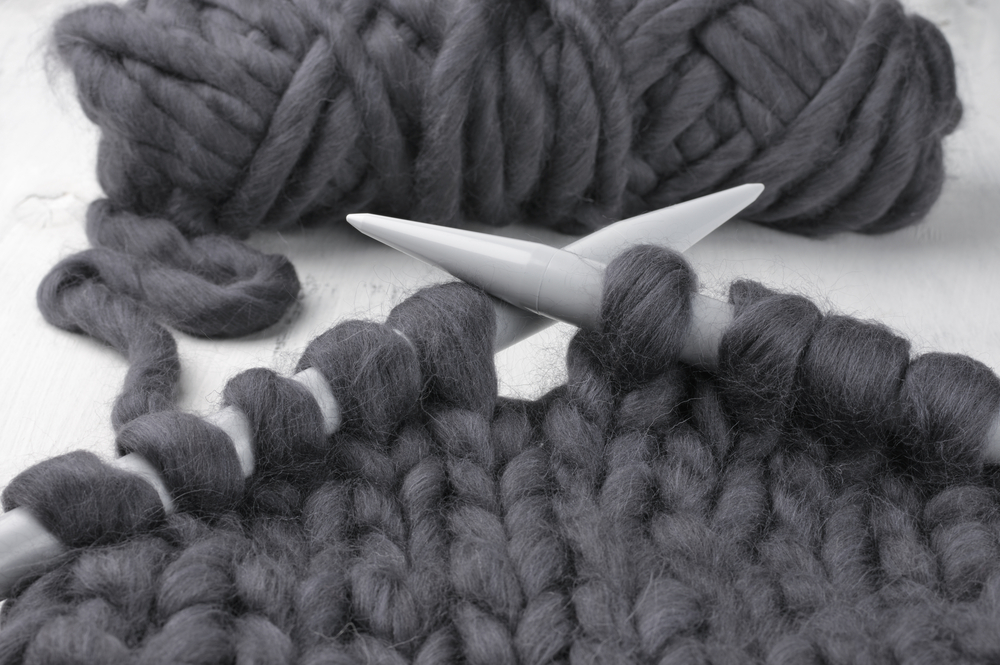
Knitting needles are more than just tools; they shape your sweater knitting journey. Straight needles are a common starting point for beginners, but don’t be surprised if you find yourself drawn to circular needles as you gain experience. They offer a new dimension of flexibility, especially when you knit in the round. And don’t overlook stitch markers; these little helpers can become your best friends in knitting. They help you keep track of where you are and make sure your pattern stays consistent all the way through.
Selecting Knitting Needles
Knitting needles are essential tools in sweater knitting. Here’s a breakdown of the types you might encounter:
- Straight Needles: Straight needles are commonly used by beginner knitters. They are easy to handle and are suitable for knitting flat pieces.
- Circular Needles: Circular needles are preferred by many knitters for knitting in the round. They are excellent for seamless sweater construction.
- Needle Size: The needle size you choose will depend on the yarn weight and the sweater pattern you’re following. Always refer to your pattern for the recommended needle size.
Gauge Swatch: Testing Your Yarn and Needles
A gauge swatch is a small knitted sample that helps you determine if your yarn and needles will produce the desired fabric for your sweater. Knitting a gauge swatch is essential to ensure that your sweater fits well. Measure the number of stitches and rows in a specific area (usually 4 inches) and compare it to the pattern’s recommendations. Adjust your needle size if necessary.
Dive into Sweater Patterns
Finding the Perfect Sweater Pattern
A sweater pattern acts as a roadmap for your knitting journey. Countless knitting patterns are available if you’re looking for a classic sweater design or a simple pullover. For the beginner knitter, starting with a basic pattern can ease the transition into more complex designs.
Basic Sweater Pattern
Materials:
- Yarn: Medium (DK) weight yarn, approximately 1000-1200 yards
- Knitting Needles: Size US 8 (5mm) straight needles and circular needles
- Stitch Markers
- Yarn Needle
Size:
- Adult Medium (adjustable)
Gauge:
- 18 stitches and 24 rows = 4 inches in stockinette stitch
Abbreviations:
- K: Knit
- P: Purl
- BO: Bind Off
- CO: Cast On
Pattern:
Back:
- CO 90 stitches.
- Work in garter stitch (K every row) for 10 rows.
- Work in stockinette stitch (K one row, P one row) until the piece measures 24 inches.
- BO all stitches.
Front:
- Repeat the same instructions as for the back.
Sleeves (Make 2):
- CO 60 stitches.
- Work in garter stitch for 10 rows.
- Work in stockinette stitch, increasing 1 stitch at each end of every 6th row until you have 70 stitches.
- Continue in stockinette stitch until the sleeve measures 18 inches.
- BO all stitches.
Assembly:
- Sew the front and back pieces together at the shoulders.
- Sew the sleeves to the body.
- Sew the sides of the body and sleeves closed.
- Add a ribbed neckline if desired (K2, P2 for 10 rows, then BO).
Text-Based Representation of the Pattern:
Back/Front:  |---------|
             |         |
             |         |
             |---------|

Sleeve:      |----|
             |    |
             |    |
             |----|
Crafting a Simple Pullover Sweater: A Basic Pattern
Imagine a sweater that’s both classic and simple, a piece that’s as comfortable to wear as it is fun to knit. That’s what this basic pattern offers. With the garter stitch forming the edges and the stockinette stitch shaping the body, this sweater is a canvas for creativity without complexity. Add your flair with different yarn colors or unique touches like a shawl collar or pockets.
Remember, this pattern is a general guide, a starting point for your sweater project. If you’re new to sweater knitting or want more detailed instructions, don’t hesitate to refer to a specific pattern from a trusted source. Happy knitting!
The Core Stitches: Garter and Stockinette
In the world of sweater knitting, two stitches often take center stage: the garter stitch and the stockinette stitch. They’re not just techniques; they’re the essence of your sweater’s texture and shape.
Garter Stitch: The Texture Maker
The garter stitch is like the heartbeat of knitting. Simple yet strong, it’s created by knitting every row, resulting in a fabric that’s textured and the same on both sides. It’s a favorite in many sweater patterns, not just for beginners but for anyone who appreciates its rich texture.
Stockinette Stitch: The Smooth Operator
The stockinette stitch is the smooth talker of knitting stitches. By alternating knit and purl rows, it creates two distinct faces: one side smooth (the right side) and the other side textured (the wrong side). This versatile stitch is a go-to for many sweater designs, from the simplest pullovers to more complex creations.
These stitches aren’t just techniques; they’re the language of knitting. Mastering them opens doors to endless possibilities in sweater knitting, whether you’re crafting your first sweater or your fiftieth.
Planning Your Sweater Project
Choosing a Sweater Pattern
Sweater patterns are the blueprints for your knitting project. They provide detailed instructions, including the required yarn, needle size, and stitches. Selecting the right pattern is crucial, whether you’re looking for free patterns or investing in a more complex design.
Understanding Sweater Construction
Sweater construction refers to the method used to assemble the different parts of the sweater, such as the sleeves, body, and neckline. There are various construction methods, including knitting in the round and bottom up. Understanding these methods will help you knit a seamless sweater that fits well.
Sweater Styles and Designs
Sweaters come in various styles and designs, from a simple pullover to a shawl collar design. Here’s a look at some popular options:
- Simple Sweater: A simple sweater often features basic stitches and a straightforward construction method. It’s an excellent choice for those new to knitting sweaters.
- Seamless Sweater: A seamless sweater is knitted in one piece, often using circular needles. It offers a clean finish without visible seams.
- Sweater with Shawl Collar: A shawl collar adds a touch of elegance to a sweater. It’s a fold-over collar extending down the sweater’s front, creating a sophisticated look.
Constructing Your First Sweater
Understanding Sweater Construction
Sweater construction might sound daunting, but it’s all about assembling the knitted pieces seamlessly. Understanding construction methods will ensure your first sweater looks professional and well-made from the sweater body to the sleeves.
The Importance of Gauge and Fit
Knitting a gauge swatch is crucial before diving deep into knitting your sweater. This step ensures that your knitting matches the pattern’s recommended gauge, leading to a well-fitted finished sweater. Remember, the desired length of your sweater and sleeves is crucial, so always refer to your pattern and make adjustments as needed as well.
Frequently Asked Questions: how to knit a sweater for beginners
Bulky Yarn vs. Chunky Yarn: What’s the Difference?
When learning how to knit a sweater for beginners, bulky yarn and chunky yarn might sound like the same thing, but they have subtle differences. Bulky yarn is usually a bit thicker, perfect for crafting warm, snug garments like a bulky sweater. Chunky yarn, while still thick, might be a tad less dense, giving it a unique texture. Both have their place in the world of winter sweaters, each offering a distinct feel.
Finding the Perfect Needle Size: How?
Choosing the right needle size for your sweater project is like finding the perfect dance partner for your yarn. It depends on the yarn weight and the pattern’s rhythm. Knitting needles come in a dance floor full of sizes, and picking the right one ensures your stitches move neither too tightly nor too loosely. Always follow your pattern’s lead and consider knitting a gauge swatch to test your steps with the chosen yarn.
Knitting a Sweater Flat: Is It Possible?
Absolutely! Knitting a sweater flat is like building a puzzle with straight needles. You knit the front and back pieces separately and then join them, piece by piece. It’s a different dance from knitting in the round, where circular needles let you knit the sweater in one flowing, seamless piece.
Tips for My First Sweater: What Should I Know?
Embarking on your first sweater is a thrilling adventure. Here’s a roadmap:
- Choose a Friendly Path: Start with a simple sweater pattern that speaks your knitting language.
- Know Your Yarn: Understand the weight of your yarn, be it dk weight yarn or bulky weight yarn.
- Mark Your Way: Stitch markers are like signposts, guiding you through complex patterns.
- Enjoy the Journey: Knitting a sweater isn’t a race. Savor each stitch, and remember, the joy is in both the making and the wearing.
How to Craft a Ribbed Neckline?
A ribbed neckline is like the elegant collar on a well-tailored suit. To craft one, you’ll dance between knit and purl stitches in a pattern, like knit two, purl two (K2, P2). This rhythm creates a textured, stretchy edge that hugs the neck just right. Follow your sweater’s choreography for the specific ribbing steps, and consider using smaller needles for that perfect fit.
What’s the Best Method for Sewing Sleeves Closed?
When learning how to knit a sweater for beginners, sewing sleeves closed is an essential step in sweater construction. The mattress stitch is a popular method for joining sleeves, as it creates a nearly invisible seam. Carefully sew the sleeves closed, aligning the stitches using a yarn needle and the same yarn used in the sweater. The result is a professional finish that complements your knitted garment.
Wrapping up
Embarking on the journey of how to knit a sweater for beginners is a rewarding experience filled with creativity, skill, and personal expression. Whether it’s your first sweater or one of many, the blend of garter and stockinette stitches in this simple pullover pattern offers a timeless appeal. With the right yarn, needles, and a touch of patience, you can create a cozy masterpiece that’s uniquely yours. Embrace the process, explore variations, and most importantly, enjoy every stitch of your sweater knitting adventure. Happy knitting!
